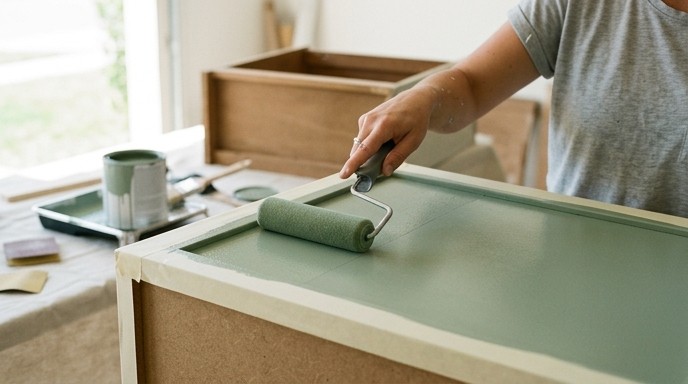
Don't rush to ruthlessly throw that old particle board wardrobe, dresser, or nightstand in the trash just because its color has long gone out of style, or ugly scratches have appeared on its surface. Objectively speaking, painting laminated particle board (laminate furniture) is harder than painting natural wood, because its surface is perfectly smooth and absorbs absolutely no paint. But with the right step-by-step preparation and a special adhesion primer, you can do it flawlessly and save a considerable amount of money.
Updating your furniture is a wonderful step towards conscious consumption. By the way, if you are planning a massive space update, we highly recommend reading our guide: Sort, Define, Discard: 6 Ultimate Home Organization Tips.
What You Will Need for the Job
The main secret to a durable finish lies not in the cost of the paint itself, but in the thorough preparation of the surface. You will absolutely need:
- Fine sandpaper: 180 or 220 grit (do not use coarse sandpaper under any circumstances, as it will leave deep grooves that will be visible under the paint).
- Acrylic wood filler (preferably white) and a small rubber putty knife.
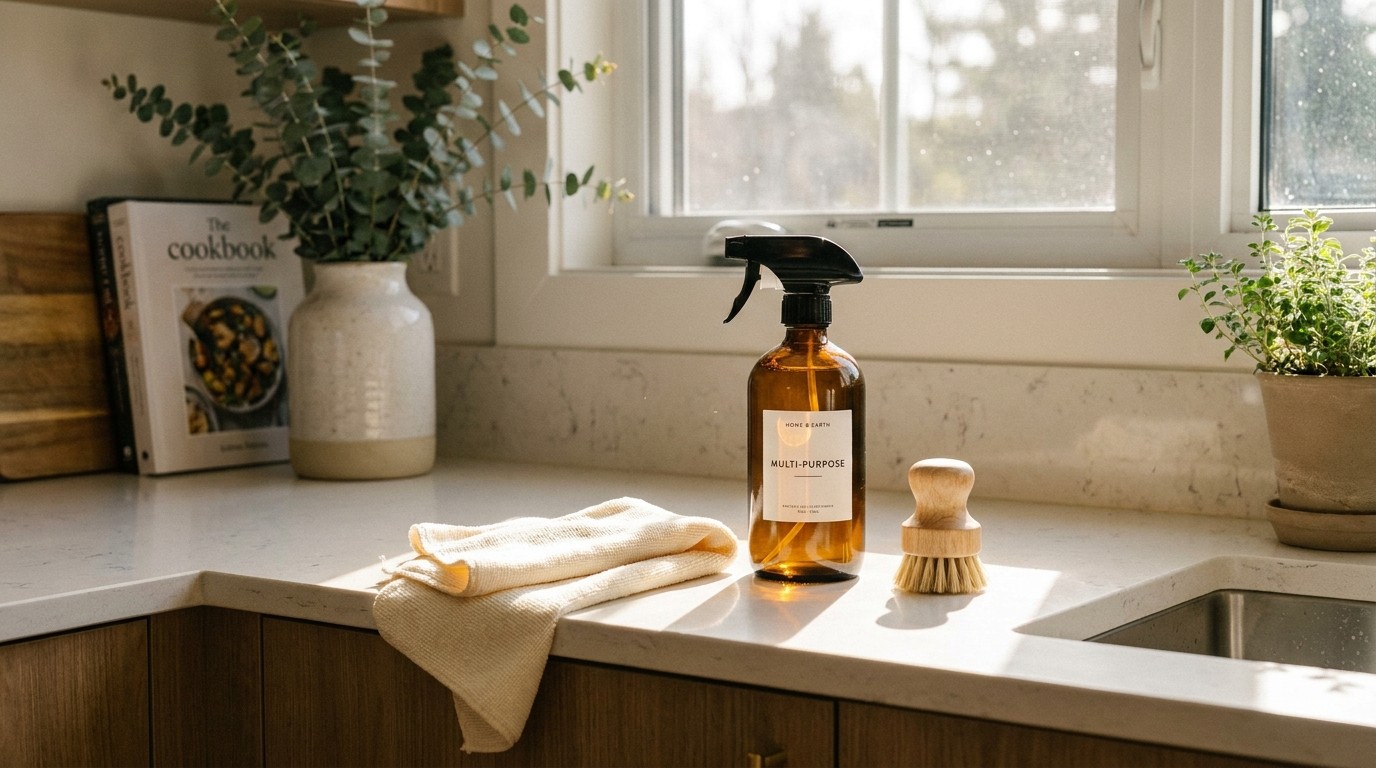
- Degreaser: technical alcohol, anti-silicone, mineral spirits, or a strong solution of dish soap.
- Adhesion primer: This is the most important component in the entire process! You need a specialized bonding primer for tricky, smooth, and glossy surfaces (e.g., Zinsser BIN, KILZ Adhesion, or Tikkurila Otex).
- Paint: acrylic furniture enamel, polyurethane paint (for maximum durability), or popular chalk paint.
- Tools: a velour or high-density foam roller (it doesn't leave bubbles like standard foam ones) and a soft synthetic brush for corners.

The goal of sanding is not to remove the laminate film down to the bare sawdust, but merely to lightly remove the glossy shine (making the surface matte).
Step 1: Matting and Degreasing (The Most Crucial Stage)
If you just go ahead and apply paint straight onto smooth laminate, it will dry, but a week later it will peel off like a film at the slightest bump of a fingernail. The surface must be made microscopically "rough" so that the primer molecules have something to firmly grip onto.
- Go over the entire surface with sandpaper (220 grit). Do this lightly, in circular motions, without pressing too hard.
- Thoroughly sweep away all the resulting dust with a damp cloth or tack cloth.
- Generously wipe down the furniture with a degreaser. Attention: if even an invisible drop of grease from your hands or old polish remains on the furniture, the paint will curdle and fail to adhere in that spot.
Step 2: Repairing Chips and Swelling
Particle board has a significant flaw—with prolonged exposure to moisture, the pressed sawdust inevitably swells. All defects must be repaired before applying the primer.
Step 3: Applying the Adhesion Primer
Absolutely do not skip this step! A cheap, regular acrylic wall primer will not work here—it will just slide off the laminate like water off glass. You need a specialized bonding/adhesion primer that chemically "bites" into plastic, laminate, or glass.
Apply exactly one thin coat of primer using a velour roller. In hard-to-reach places, carvings, and corners, use a synthetic brush. Let the piece dry for 12-24 hours (alkyd-based and shellac-based primers dry at different rates and often have a strong odor, so be sure to work in a well-ventilated room or outdoors).

A short-nap velour roller leaves a perfectly smooth surface behind, unlike a standard foam roller, which creates an "orange peel" texture.
Step 4: Painting
Once the primer is completely dry (the surface should become matte and slightly rough to the touch), you can apply the finish paint. For furniture, acrylic enamels (which are odorless and dry quickly) or polyurethane paints (more expensive, but highly resistant to scratches and washing) work best.
- Paint only with a velour roller, applying the paint in thin, even coats, moving in one direction.
- Remember the golden rule: it is better to apply 3 very thin coats than 1 thick coat, which will inevitably leave ugly drips.
- Always wait for the paint to dry completely between coats (usually 2-4 hours; check the instructions on the can).
- After the first coat of paint, tiny, invisible "fuzz" might rise up. If the surface feels rough to the touch, lightly run over it with fine sandpaper (320 or 400 grit), wipe off the dust, and only then apply the next finish coat.
💡 Alternative: Chalk Paint
If you want to achieve a deep, matte finish in a "Provence," shabby-chic, or vintage style, use chalk paint. Its main and incredible advantage is that it requires neither priming nor prior sanding! Chalk paint adheres phenomenally straight onto smooth laminated particle board. However, there is a catch: once dry, it absolutely must be sealed with 2-3 coats of special furniture wax or a high-quality matte topcoat/varnish. If you skip this, the porous structure of the paint will instantly absorb dirt and rub off quickly.
One Last Tip: Be patient. The full chemical crystallization (curing to its advertised durability) of any furniture paint takes anywhere from 14 to 30 days. Therefore, for the first month, use your updated furniture very carefully: don't place hot mugs on it without coasters, don't scratch it, and don't wash it with aggressive chemicals.