An organized home is not a row of matching containers or a cupboard photographed immediately after a reset. A useful system still works on a tired weeknight, and everyone who shares the home can understand it without a guided tour.
That is why the first step is not shopping. Look at where clutter collects, who uses those items, and which part of putting them away creates too much friction. The 14 systems below address different causes of clutter; they are not 14 products that every household supposedly needs.
Diagnose the problem before choosing an organizer
- Items collect near the entrance: the home lacks a landing zone for daily arrivals.
- Containers are overflowing: the category exceeds the space assigned to it.
- Things are never returned: storage is too far away or takes too many steps to access.
- Only one person understands the system: categories are unclear or poorly labeled.
- Order lasts only a few days: the setup was not tested during an ordinary busy week.
1. Start with one problem zone, not an entire room
“Organize the kitchen” has no clear boundary. “Make the utensil drawer close without catching” is a specific outcome that can be completed in one session.
Choose a zone that repeatedly causes inconvenience: a medicine shelf, a cable basket, the surface by the front door, or one section of a closet. Do not expand the project until you understand why clutter forms in that location.
2. Gather one complete category
When batteries, shopping bags, towels, or tools live in several rooms, it is easy to underestimate how many you own. Bring one category together, then separate useful items from broken, expired, and unnecessary duplicates. Do not make decisions about important documents, medication, or another person’s belongings without the owner.
This is different from emptying an entire room. It prevents the project from becoming a floor-sized pile that must be finished late at night.
3. Let the shelf or container set a capacity limit
Storage has a physical capacity. If towels have one shelf, the system must function within that boundary. When the category no longer fits, there are three honest options: reduce the quantity, assign more space, or change the folding arrangement. Buying a random extra basket merely postpones the decision.
Leave some working room so that one item can be removed without rebuilding the shelf.
4. Create an exit route for unwanted items
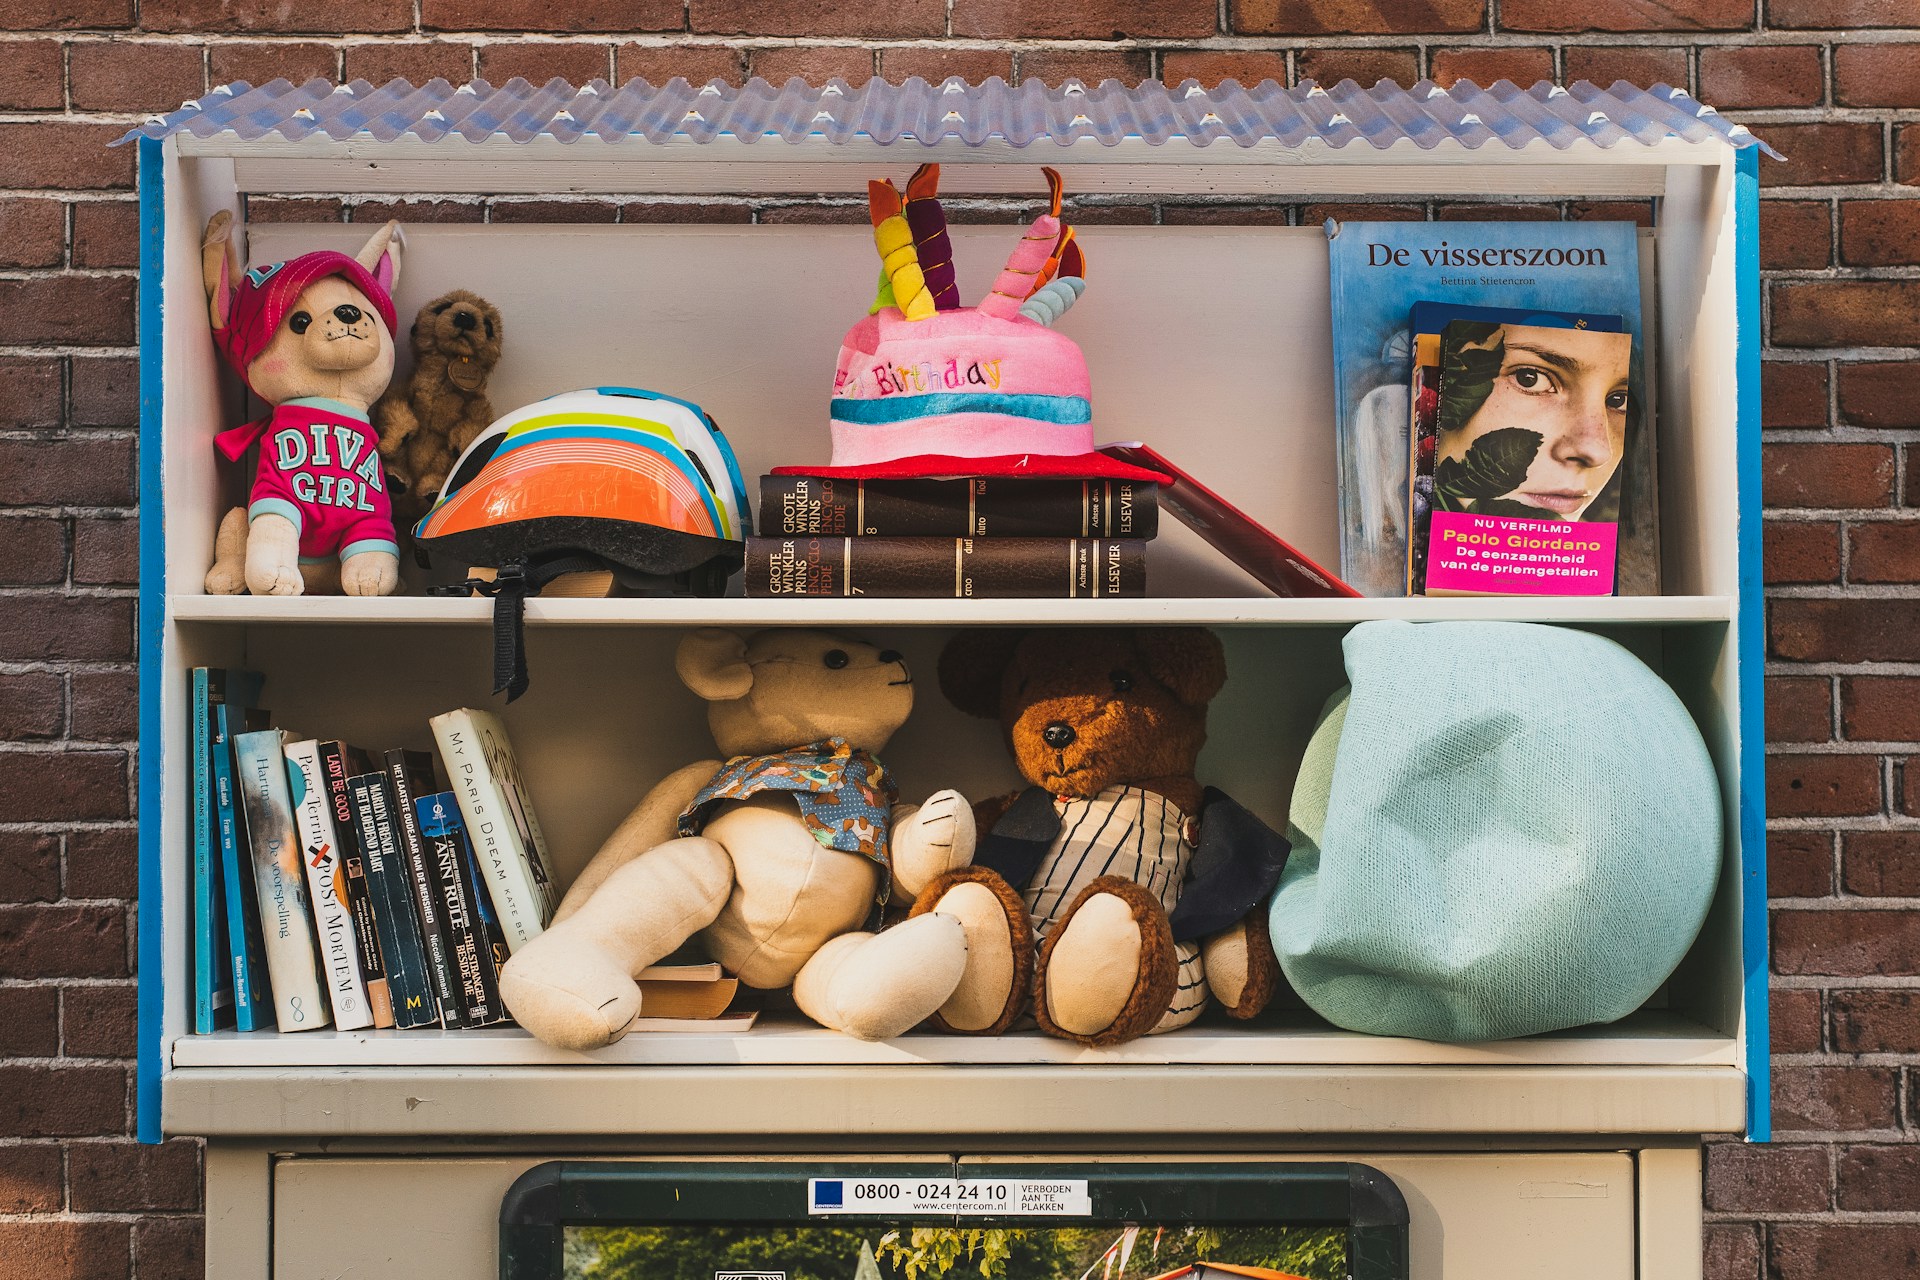
A bag labeled “donate someday” often becomes a new form of clutter. Before sorting, decide where items can realistically go: resale, a friend, a charity, an appropriate recycling service, or waste when the item is no longer usable.
Give the bag a departure date. Check the recipient’s rules before dropping it off; many organizations cannot accept damaged, dirty, or oversized goods.
5. Store items at their point of use
Keys are easier to return to a hook near the entrance than to a drawer in another room. Shoe-care supplies belong near shoes, spare towels near the bathroom, and work cables near the desk.
If an object repeatedly rests in the “wrong” place, the problem may not be discipline. Its official storage location may simply conflict with the user’s actual route through the home.
6. Choose open or closed storage by frequency
An open shelf, hook, or tray suits items used every day because they remain visible and can be returned in one motion. Closed boxes and high shelves are better for seasonal or infrequently used possessions.
A daily item is unlikely to return to a lidded box inside a cupboard if putting it away takes four steps. Open storage, however, is inappropriate for medication, household chemicals, sharp objects, and anything that must stay away from children or pets.
7. Add an inbox for items that still require a decision
The “one-touch” rule is useful when the next action is obvious: hang up a coat, recycle junk mail, or place a cup in the dishwasher. A bill, form to sign, or purchase to return cannot always be processed immediately.
Give these items one small action tray and review it on a set day. It should not become another bottomless drawer: the tray limits the volume while keeping unresolved tasks in one visible place.
8. Arrange by frequency rather than appearance
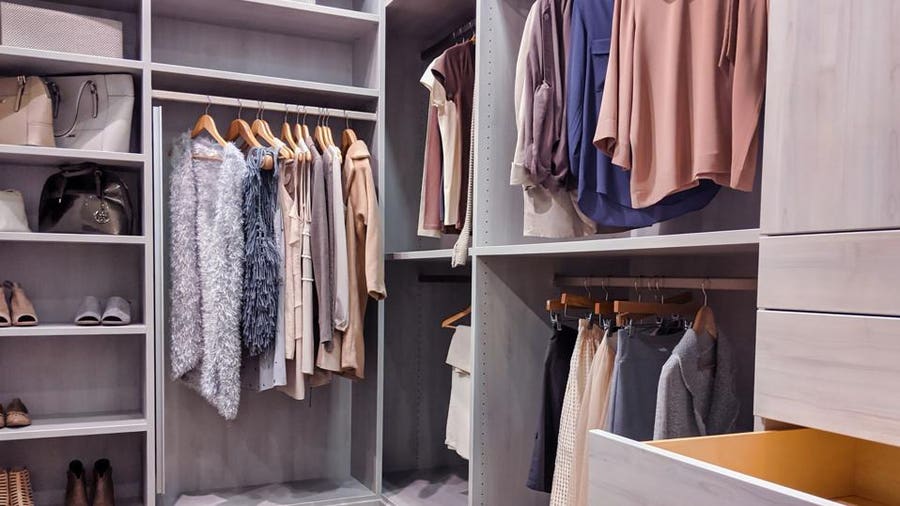
Daily items belong in the easiest reach zone—roughly between knee and shoulder height. Light, rarely used objects can go higher; heavy items are safer lower down. Seasonal possessions can sit deeper in a cupboard if the container is clearly identified.
If a beautiful arrangement requires moving three boxes every morning, it will not remain beautiful for long.
9. Measure usable space, not just shelf width
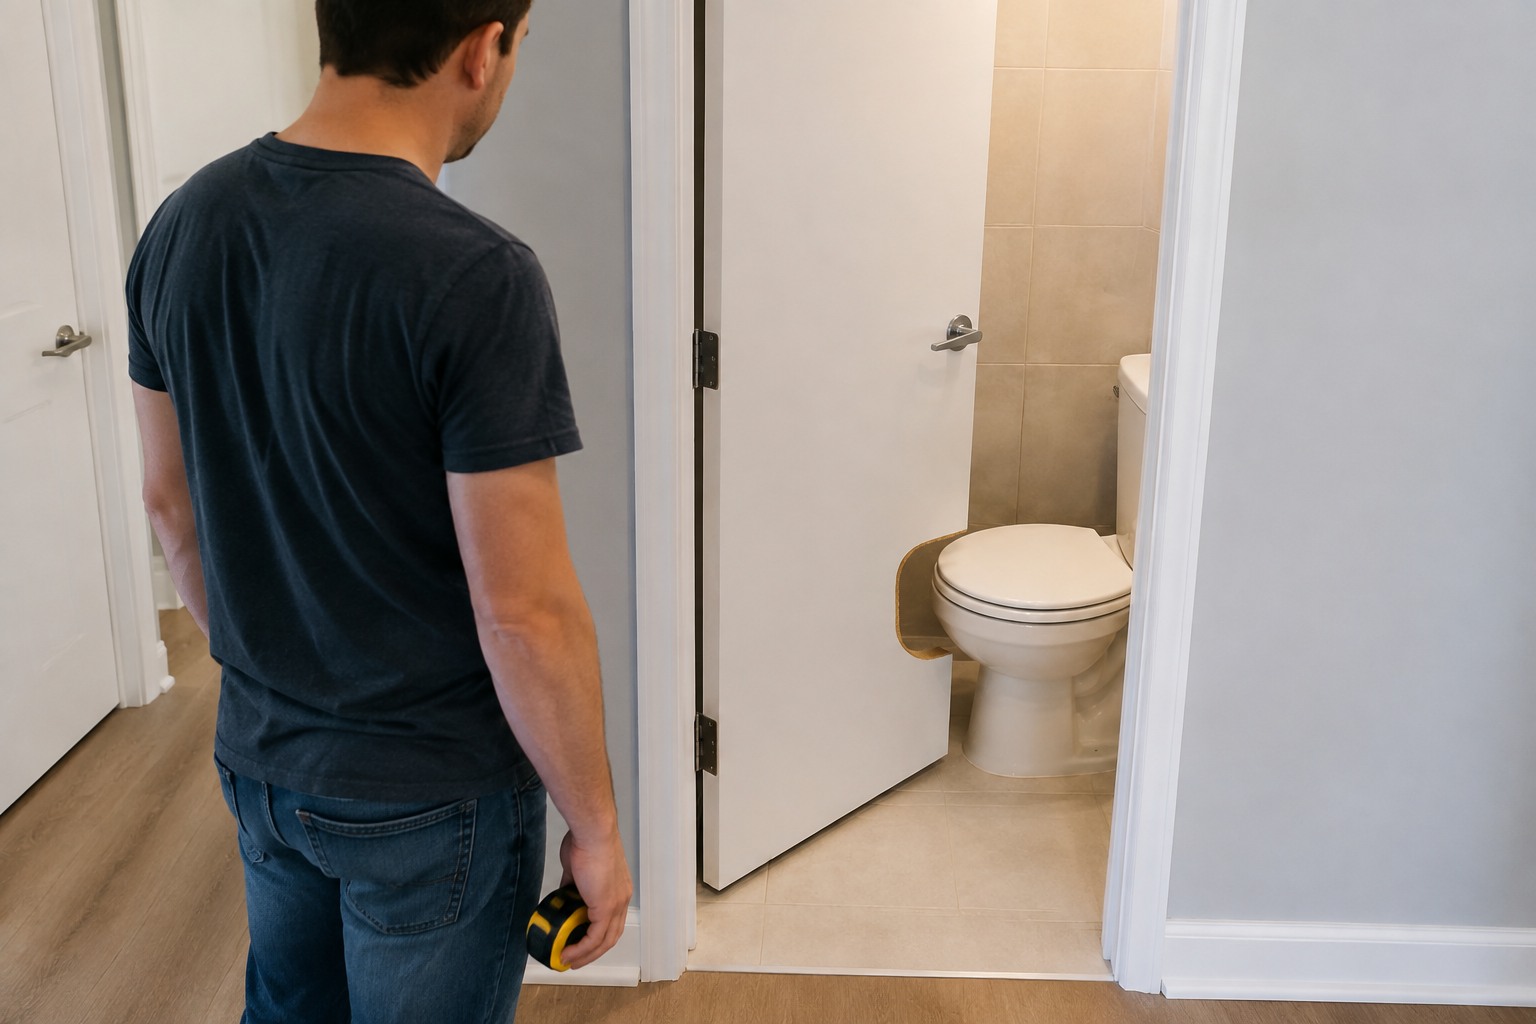
Before buying a bin, record the internal width, depth, and height of the compartment. Account for hinges, runners, pipes, and the path of an opening door. A pull-out basket needs both enough space to fit and enough clearance to extend fully.
Test the layout with a cardboard box or a temporary tray first. Buy a matching set only after the size and access method prove comfortable.
10. Divide small items before adding labels
One large bin labeled “cables” quickly becomes a knot. It needs a few practical subcategories: charging cables, adapters, and spare power supplies. The same approach works for tools, stationery, and personal-care products.
A label should describe a category that everyone understands. If the label needs a separate instruction manual, the system is too complicated.
11. Use walls and doors without creating a safety problem
Hooks, pegboards, and shallow shelves can clear work surfaces, but walls and fixings have different load capacities. Match the fastener to the wall construction and the documented weight. Check for wiring and pipes before drilling, keep ventilation and exit paths clear, and follow the product’s installation instructions.
Anchor tall dressers, bookcases, and similar furniture against tip-over, particularly in homes with children. Do not assume that a heavy-looking cabinet is stable when drawers or doors are open.
12. Create refrigerator zones without compromising food safety
Zones such as “breakfast,” “snacks,” or “use first” can reduce searching. Appearance does not override safe storage: keep raw meat, poultry, and seafood securely wrapped or in sealed containers so juices cannot contaminate ready-to-eat food. Do not pack the refrigerator so tightly that cold air cannot circulate.
Personal baskets can work for snacks or clearly owned products, but they should not override temperature requirements. For the complete setup, see our refrigerator organization and food-safety guide.
13. Define the result of a shared task
“Clean the kitchen” means different things to different people. A visible outcome is easier to share: the counter is clear, dishes are loaded, and food waste has been removed. Agree on the frequency and owner as well; do not wait for someone to notice the task.
A magnetic board or shared list is useful only if the household checks it. Choose one tracking method instead of duplicating chores across several apps and notebooks.
14. Test the system during an ordinary week
Do not judge a setup immediately after the organizing session. Live with it for seven days and note where objects begin collecting again. If a basket remains empty while its intended contents sit beside it, the basket is misplaced or its category is unclear.
Change one obstacle: remove a lid, move the bin closer, broaden the category, or free more capacity. A good system adapts to the people using it; it does not require them to behave as if they live in a showroom.
The five-question maintenance test
- Is it obvious what belongs here without an explanation?
- Can a daily item be retrieved and returned in one or two actions?
- Is there enough spare capacity to avoid rearranging everything?
- Are the height, fixings, and access safe for the household?
- Does the system work for every user, not only the person who designed it?
Where to begin
Choose one surface that becomes cluttered every day. For three days, resist mechanically clearing it and record which categories land there. Then create a home for only the two or three most frequent categories and test the change for a week. This small experiment reveals more than buying ten organizers at once.
If you need a plan for individual rooms, use our separate room-by-room organization guide. This article answers a different question: how to build a system that does not need to be recreated from scratch every weekend.