Dark grout does not automatically need whitening. On a kitchen backsplash, the problem is usually a greasy film. Floor grout collects soil from dirty water, while bathrooms add soap scum, mineral deposits, and sometimes black spots in areas that stay damp. Each problem calls for a different cleaning method.
The safest approach is to start with water and a neutral cleaner, then move to a stronger product only after identifying the tile, grout, and type of soil. Those three details matter more than the amount of baking soda, vinegar, or peroxide in a homemade recipe.
🧽 The short answer
- For routine cleaning: warm water, a clear pH-neutral tile-and-grout cleaner, and a nylon brush.
- For kitchen grease: start neutral, then use a compatible alkaline cleaner if needed.
- For mineral deposits: use a purpose-made product confirmed safe for the surface; vinegar is not a routine grout cleaner.
- For black spots: combine cleaning with thorough drying, ventilation, and a check for leaks.
Identify three things before you clean
1. The tile around the joint
Glazed ceramic and porcelain generally tolerate more than polished natural stone. Marble, limestone, and travertine can become dull or etched when exposed to vinegar, lemon juice, and other acids. Abrasive powders may also scratch a polished finish even when the grout itself appears unharmed.
2. The type of grout
Cement grout can absorb soil and may sometimes need its protective treatment renewed. Epoxy and ready-to-use polymer grouts are less porous, but they are not stainproof or compatible with every cleaner. If you cannot identify the grout, start with the mildest method and check renovation records, leftover packaging, or the manufacturer's care guidance.
3. What caused the mark
Gray soil, kitchen grease, white mineral scale, and black spots in a shower need different chemistry. Trying to bleach everything can discolor a pigmented joint while hiding the underlying problem only briefly.
🧭 Find your situation
How to use this guide: select a row or its arrow to expand the recommendation.
Floor grout has gradually turned gray
Start with method 1. Dirty wash water often dries in the recessed joints. Work in small sections and lift the used solution with a clean cloth or wet vacuum instead of spreading it across the floor with a mop.
The kitchen backsplash feels sticky
Go to method 2. This is a degreasing job, not a whitening job. Hydrogen peroxide is not a substitute for a cleaner designed to break down grease.
There is a white or chalky deposit
Use method 3, but first check for marble, limestone, or travertine around the joint. If white powder seems to come from the grout itself and returns after drying, it may be efflorescence rather than ordinary soil.
Black spots keep appearing in the shower
See method 4. Do more than lighten the mark: dry the surface, check ventilation, inspect the sealant and joints, and look for possible leaks.
The grout is colored or the tile is natural stone
Limit cleaning to water and a clear pH-neutral product until you confirm that anything stronger is compatible. Patch-test first, and judge the color only after the test area has dried completely.
What you will need
- a medium-soft nylon grout brush;
- two light-colored microfiber cloths or non-scratch sponges;
- warm water and a separate container for clean rinsing water;
- a clear pH-neutral cleaner approved for tile and grout;
- gloves and fresh-air ventilation;
- if necessary, a surface-compatible alkaline cleaner or mineral-deposit remover.
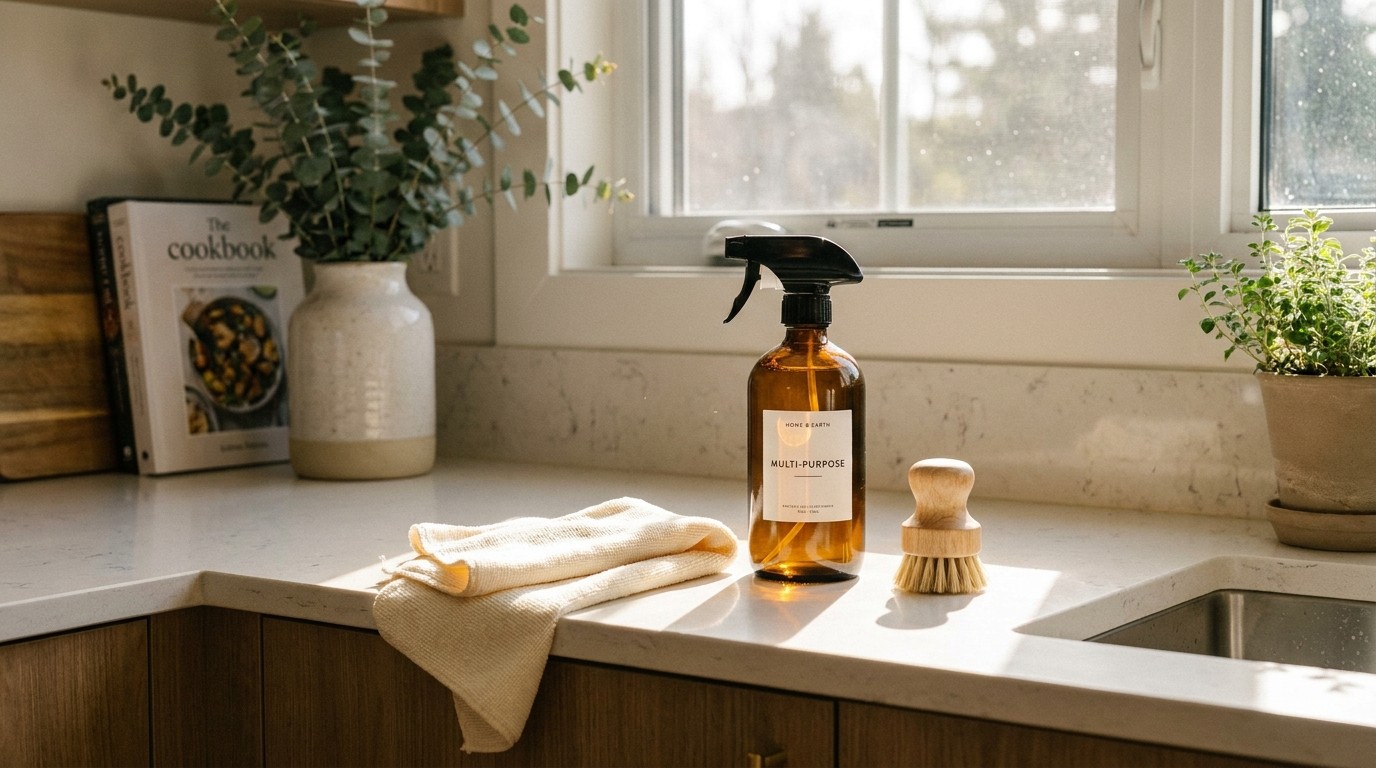
Do not line up every bottle from under the sink. Choose one product for the job and follow its label.
Method 1. Everyday soil: water and a neutral cleaner
This is the starting method for intact grout without mold-like growth, heavy grease, or obvious mineral deposits. Grout manufacturers commonly recommend pH-neutral products for routine care because they are less likely to affect pigment or an applied sealer.
- Vacuum or sweep away dry dust and grit so they do not turn into a muddy paste.
- Dilute the cleaner exactly as its label directs. A stronger concentration does not necessarily clean better and may leave a sticky residue.
- Apply it to a small section and allow only the contact time specified by the manufacturer.
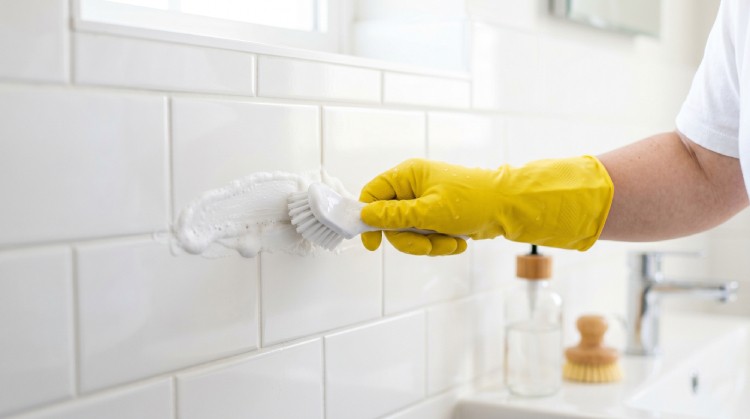
- Work along the joint with a nylon brush without pressing hard against the edges of the glaze.
- Lift the dirty solution, rinse with clean water, and dry the surface.
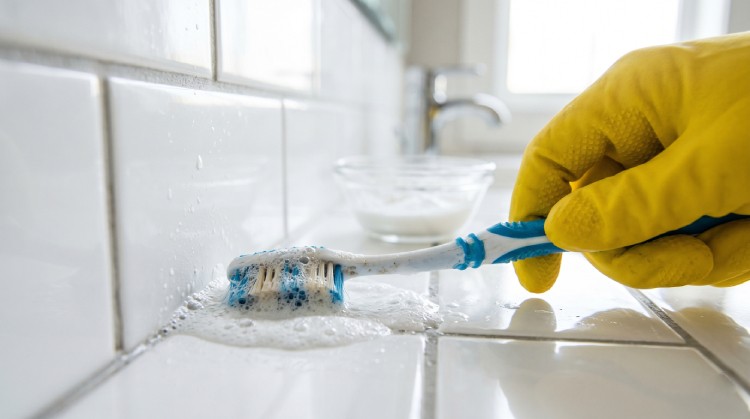
Work in short sections so the dirty solution cannot dry back into the joints.
Method 2. Kitchen grease: alkaline cleaning
If the grout feels sticky and a yellowish film surrounds the stove, begin with the neutral cleaner. When that is not enough, use an alkaline tile-and-grout cleaner confirmed compatible with the surface. This is a more precise choice than mixing dish soap with hydrogen peroxide.
- Patch-test in an inconspicuous place and let the area dry completely.
- Apply the alkaline cleaner at the concentration listed by its manufacturer. Do not let it dry on the tile.
- After the stated dwell time, gently scrub the joint with a nylon brush.
- Remove the entire solution, rinse thoroughly with clean water, and dry.
Repeat only if the label allows it. If grease has penetrated old, damaged cement grout, progressively stronger products may still not restore the original color.
Method 3. Soap scum and mineral deposits: match the product to the surface
Wash the tile with a neutral cleaner first. Some supposed limescale is actually a mixture of soap, body-care products, and ordinary soil. If a hard white ring remains after drying, choose a mineral-deposit remover that its manufacturer permits on your tile and grout.
Do not make diluted vinegar a weekly grout treatment. MAPEI notes that occasional vinegar use on porcelain or ceramic tile with cement grout may not cause damage, but frequent use can weaken or discolor the joint. Acids should not be used on marble, limestone, or travertine.
🚿 A toilet-bowl method is not a tile method
A cleaner that is suitable for a glazed toilet bowl may damage a cement joint, metal trim, or natural stone. Use the separate The LINES guide to removing limescale from a toilet bowl only on the surface it covers.
Method 4. Black spots in a damp area: clean and control moisture
Color alone cannot identify a mold species. For a small area on a hard surface, the EPA recommends cleaning with detergent and water, then drying it completely. If the spots return quickly, the issue is usually not a weak recipe but continuing moisture from poor ventilation, condensation, a leak, or sealant that has pulled away from the substrate.
- Put on gloves and open a window or run the exhaust fan.
- Clean the small area with a surface-compatible detergent and a nylon brush.
- Lift the dirty solution, rinse, and dry the joint completely.
- Inspect silicone in corners, joints around the tub or shower tray, pipes, and the bathroom ventilation.
If the growth has penetrated cracked sealant or crumbling grout, surface cleaning may not be enough. The damaged material may need to be removed and replaced after the moisture source is corrected. Extensive growth, a hidden leak, or repeated recurrence deserves professional assessment.
What not to do
⚠️ Never mix cleaning products
Do not combine chlorine bleach with vinegar, acidic products, ammonia, or any other cleaner. The mixture can release dangerous fumes. If one product has already been used, do not apply another over it: rinse completely, ventilate the room, and check the label first.
- Do not use vinegar or lemon juice for routine care of cement grout, and never use acids on marble, limestone, or travertine.
- Do not make a paste from chlorine bleach and baking soda. Whitening is not the same as cleaning, may alter grout color, and does not belong in a mild maintenance routine.
- Do not treat baking soda and peroxide as a universal recipe. Abrasive particles may scratch a polished surface, while peroxide can affect pigment or a coating. Skip the experiment unless the manufacturer permits it.
- Do not use a wire brush, oven cleaner, or acidic toilet-bowl gel. These can damage the joint, tile glaze, and metal trim.
- Do not store improvised mixtures or transfer cleaning products into beverage containers.
- Do not flood the floor. Excess water carries soil back into the joints and makes complete drying harder.
When cleaning is no longer the answer
- the grout is soft, crumbling, or missing from the joint;
- silicone sealant has pulled away, is cracked, or is dark through its full depth;
- white powder repeatedly emerges from the joint after drying;
- spots return within days despite drying and ventilation;
- the discoloration is within the material rather than only on its surface.
In these cases, a stronger cleaner only postpones the repair. Find the source of moisture or efflorescence first, then restore the grout, sealant, or protective treatment according to the installation system.
How to keep grout cleaner for longer
- squeegee shower walls after use and keep the exhaust fan running until surfaces dry;
- wipe grease splashes from a kitchen backsplash while they are fresh;
- use clean rinse water on floors and do not allow dirty solution to dry in the joints;
- do not apply sealer automatically—first identify the grout and follow its manufacturer's requirements;
- periodically inspect corners, plumbing penetrations, and areas where water remains longest.
Sources and further reading
- LATICRETE: cement grout care and choosing a cleaner by soil type.
- MAPEI: vinegar, acidic cleaners, and routine tile-and-grout care.
- Natural Stone Institute: acids and abrasives on natural stone.
- US EPA: cleaning small areas of mold and controlling moisture.
- CDC: using bleach safely and never mixing cleaning products.
- CUSTOM Building Products: routine cleaning, rinsing, and patch testing.
Conclusion
Cleaner grout starts with the right diagnosis, not the strongest mixture. For most routine soil, a neutral cleaner, nylon brush, clean rinse, and complete drying are enough. Grease, mineral deposits, and black spots need different responses, while acid, bleach, and homemade combinations should never be treated as universal solutions.