Your trusty computer started sounding like a jet engine, and your favorite game is pushing fewer FPS than before? Most likely, the problem isn't outdated hardware, but ordinary dust. A PC acts like a vacuum cleaner, attracting tiny particles that eventually form a thick carpet on heatsinks and fans. This leads to overheating, thermal throttling, and, in the worst-case scenario, component failure.
We've prepared a universal step-by-step guide to help you safely and effectively clean your PC tower from dust at home. Prepare your tools, set aside half an hour, and your PC will thank you with silence and speed.
This step-by-step guide is intended for experienced users who understand the basic principles of handling computer hardware. Every computer is unique, and we cannot predict all the nuances of your build.
The user performs all actions at their own risk. The editorial team of The LINES is not responsible for any damage, data loss, or injuries sustained while following this guide. If you are not confident in your abilities, contact a service center.
🧹 Preparation: What will you need for cleaning?
Before reaching inside the computer, you need to gather all the necessary tools. Do not try to replace compressed air with a regular vacuum cleaner on blow mode—this can cause a static discharge and instantly ruin your motherboard or graphics card.
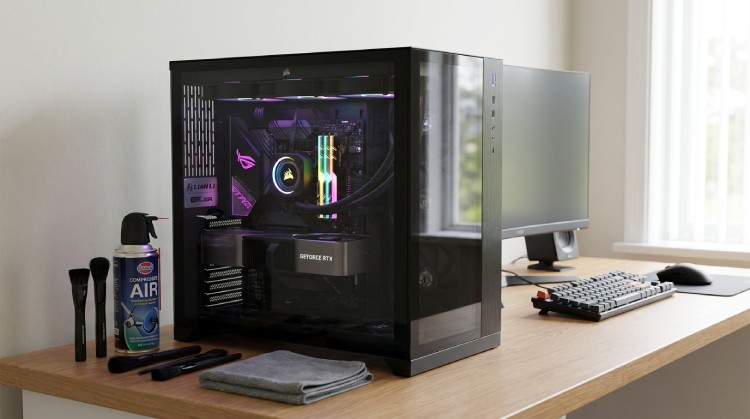
- A can of compressed air. This is your main tool. Air blows dust out of even the hardest-to-reach corners without physically touching the board. Do not use a regular vacuum cleaner on blow mode!
- A set of anti-static brushes. Needed to gently brush dust off fan blades and the case. You can use a clean, soft paintbrush instead (but only natural bristles; synthetic creates static).
- Microfiber cloth. For wiping down the case, exterior surfaces, and fan blades.
- Screwdriver. Preferably a Phillips head to remove the side panel of the case.
- Medical mask or a respirator (optional). Believe me, when you start blowing air, there will be a lot of dust.

💡 Step-by-Step PC Dust Cleaning Guide
This guide is universal for most desktop PCs in a Tower format. Start only when you have fully prepared your workspace.
🔌 Step 1: Complete shutdown and disconnecting cables
First of all, the computer must be completely de-energized. Turn it off through Windows, and then flip the switch on the power supply (at the back of the case) to the "0" position (or simply unplug the power cable from the wall).
Be sure to disconnect ALL other cables: monitor, keyboard, mouse, network, etc. Lay the tower on its side on a stable, clean surface (a wooden table is best; avoid carpets).
🖥️ Step 2: Opening the case and initial inspection
Using a screwdriver, remove the screws holding the side panel of the case. Carefully slide the panel off and set it aside in a safe place. Keep the screws separate so you don't lose them. Now the guts of your PC are in front of you. Most likely, you will see a thick layer of gray dust on all surfaces.
🌬️ Step 3: Cleaning the fans (Most Important!)
Using the can of compressed air, start blowing dust off the fan blades. Blow in short bursts.

- Start with the case fans (front and rear).
- Then move to the CPU fan (cooler).
- Pay special attention to the graphics card fans. They are often located at the bottom, so you need to blow carefully.
🔩 Step 4: Cleaning heatsinks and the power supply
Use the air to blow dust out from between the fins of the CPU heatsink and the graphics card heatsink. Also, blow dust out of the power supply. Do not attempt to disassemble the power supply! Just blow air through its ventilation grilles at the back of the case.
🧹 Step 5: General case cleaning
Use anti-static brushes to gently brush dust off the surface of the power supply, hard drives, and the bottom of the case. Avoid direct friction on the motherboard. Gather the remaining dust at the bottom of the case using a microfiber cloth.

✅ Step 6: Assembly and testing
Make sure you haven't accidentally disconnected any cables inside during the cleaning process. Put the side panel back in place and tighten the screws. Reconnect all external cables and turn on the PC. If done correctly, you'll immediately notice how much quieter it runs, and component temperatures under load will drop significantly.
What to do next if the PC is still running hot?
Cleaning dust is only half the battle for low temperatures. If your computer is more than two years old, dust might not be the only cause of overheating. The thermal interface between the processor and the heatsink dries out over time and loses its properties.